Holy Grail Time-lapse is the version of standard time-lapse photography during day-to-night or night-to-day transitions. As the ambient light is constantly changing during this process, the amount of light hitting the camera's sensor also changes. For this reason, exposure settings need to be changed dynamically during sunrise and sunset shots. Otherwise, the photos taken can be too bright or too dark.
Exposure in cameras is a complex term that depends on multiple parameters such as shutter speed, ISO and aperture. While shooting Holy Grail Time-lapse, there is a need for a way to keep the exposure correct as the light constantly changes. The Holy Grail time-lapse mode ensures that every photo in timelapse shots is properly exposed and properly ramped (changing smoothly) between any setting changes.
Holy Grail mode of Flex takes the first photo and sets the reference value. Then, it calculates the new EV value using the reference photo. According to the difference, the aperture, ISO and shutter speed values of the camera are changed, in order to take photos with the same EV value as the reference photo. Thanks to this flow, night-day-night transitions are extremely smooth.
Holy Grail Setup:
Note: The best time to start your timelapse session would be half or one hour before sunset and sunrise time according to your location.
- Turn off “Image Stabilization” and “Auto Focus” before starting your time lapse. But make sure your shot is properly focused.
- Make sure your camera is in Manual mode.
- Make sure White Balance (color temperature) is not set to auto. Choose the best setting for your shot.
- First set your aperture the lowest possible (e.g., f/2.8, f4.0)
- Set your ISO to the lowest possible (e.g, 100). But not auto.
- Then set your shutter speed so that your frame is exposed properly. Not under or overexposed.
- Set the camera settings in order to get a correctly exposed image.
Holy Grail Parameters
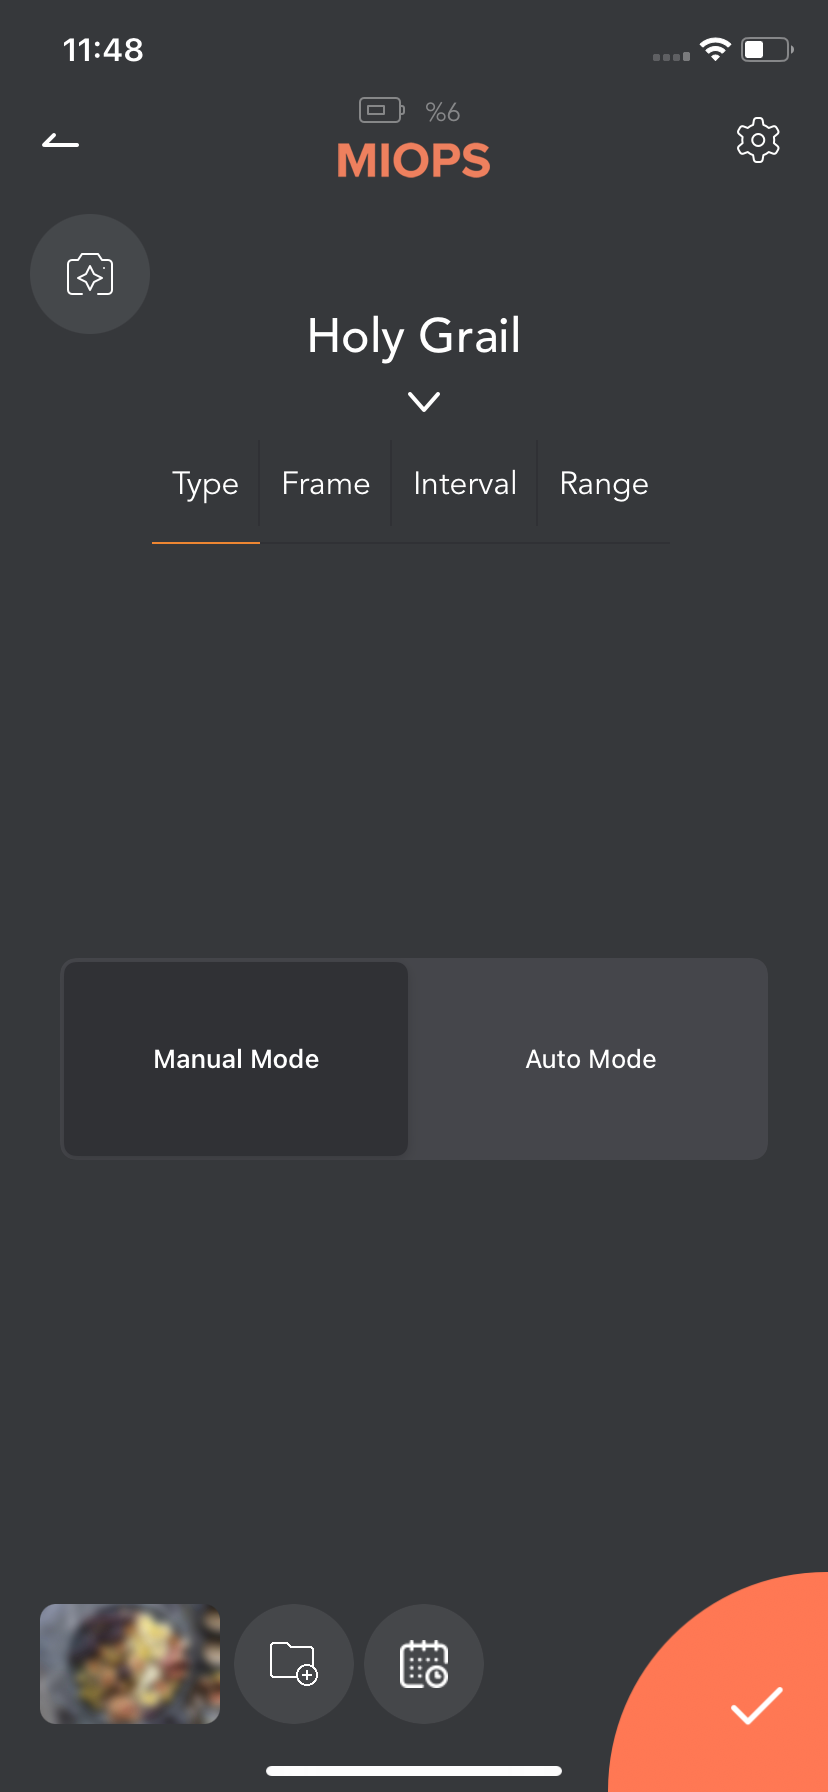
Type: You can switch between Manual Mode and Auto Mode using this parameter. When Auto Mode is selected, Flex will decide over Shutter Speed, ISO and Aperture parameters and their priority according to light level changes. If you choose Manual Mode, Range Parameters will be enabled so that you can define the limits for Shutter Speed, ISO and Aperture values and their priority.
We recommend you use the Auto Mode.
Frame:This parameter defines how many photos will be taken. You can set the frame number up to 65543. If you set the frame number to 0, this will mean that the time-lapse will continue until you stop it.
Interval: This parameter defines the duration between the starting points of each frame exposure.
You can find the recommended interval values below:
Day Interval: 8 seconds
Night Interval: 30 seconds
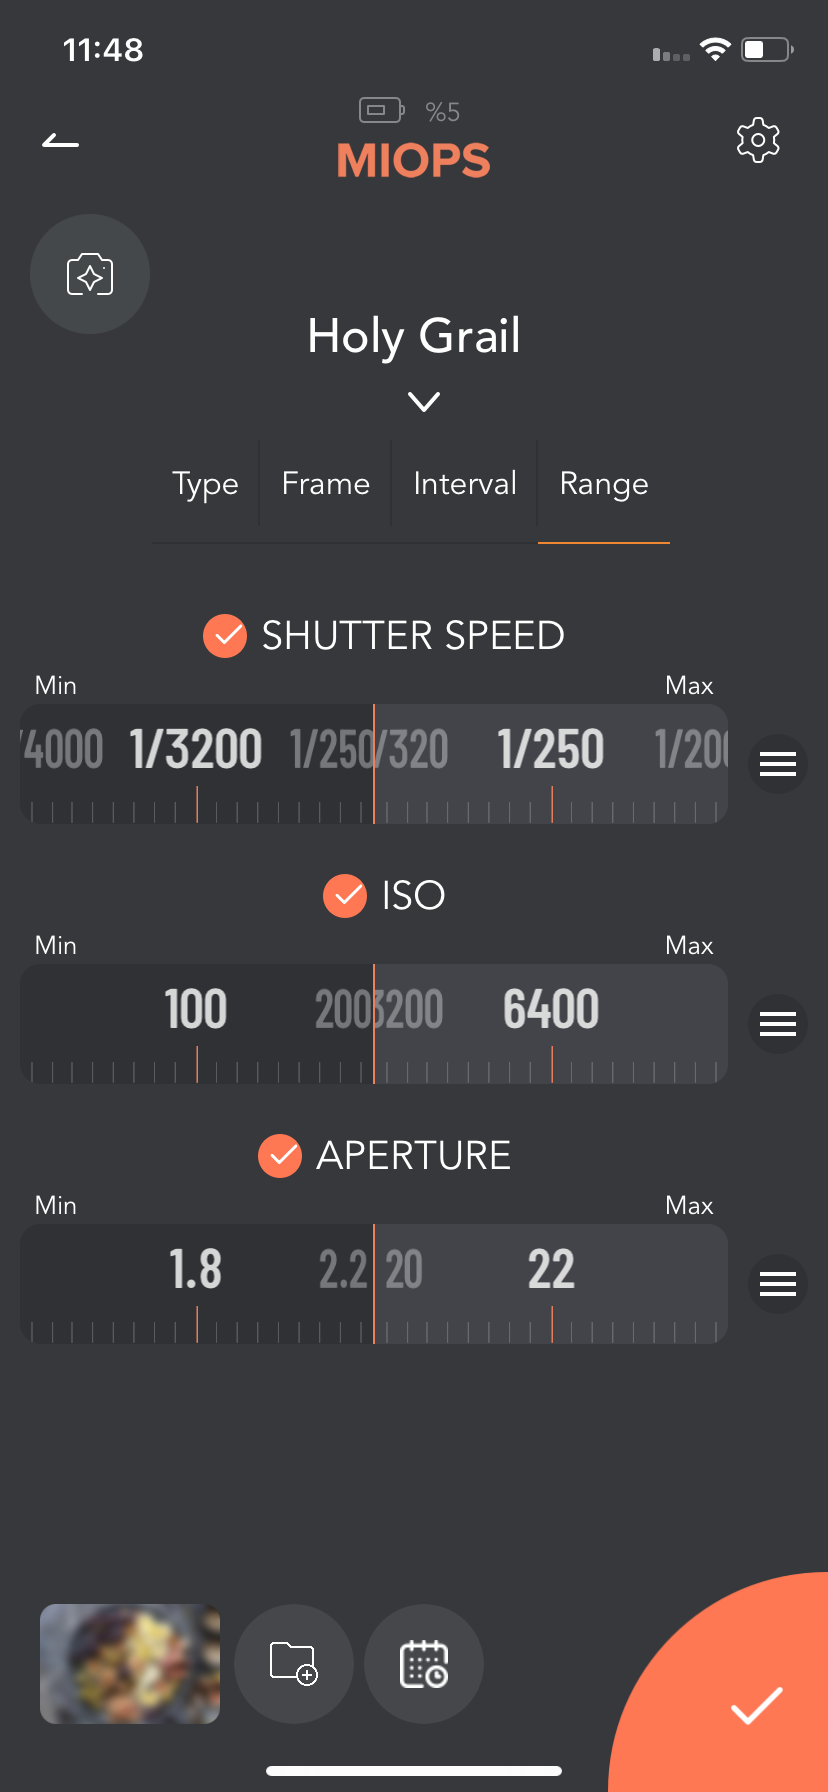
Range: This screen will be used to define the limits for Shutter Speed, ISO and Aperture values and their priority.
We have also advanced parameters screen which includes Night Illuminance Modifier, Day Illuminance Modifier and Illuminance diff.
Under normal conditions, these values do not need to be touched. Flex calculates everything. But in the some scenarios or when you want to take pictures in environments with different light levels, it may be necessary to use these values.
For Day to Night transitions, if night photos are too dark, it is necessary to decrease the Night Illuminance Modifier value. If they are too bright then it is necessary to increase it.
For Night to Day transitions, if the daytime photos are too dark, it is necessary to increase the Day Illuminance Modifier value. If they are too bright then it is necessary to decrease it.
Illuminance diff actually control speed of this transitions. If your image exposure changes too quickly, increase Illuminance diff. If your image exposure change too slow, decrease Illuminance diff.
These values are relative to the exposure value. For example, 250 Illuminance diff would equal about 0.33 EV.
Once you set the parameters and press the start button, a status screen will be opened as below. Flex will take a reference photo (Please be sure that you set the camera settings in order to get a correctly exposed image prior to starting the mode. Since the first photo will be used as the reference photo, it should not be under or overexposed).